How to Create your Google Plus Business Page
Getting Started

- Create your Google account if you have not done so already. This will be your Google account for business, not personal use.
- Go to the Google Plus website and log in with your Google Account.
- From here, on the left side of the screen, highlight the “More” button, and click the “Pages” button.
From here, you can choose the category that best fits your organization. The five categories are as follows:
- Local Business or Place
- Product or Brand
- Company, Organization, or Institution
- Art, Entertainment, and Sports
- Other
- Once you have chosen a category, you have to specify in a little more detail what your business does using a drop-down menu. Make your selection and continue.The next few steps involves customizing the look and feel of your Google Plus Business page.

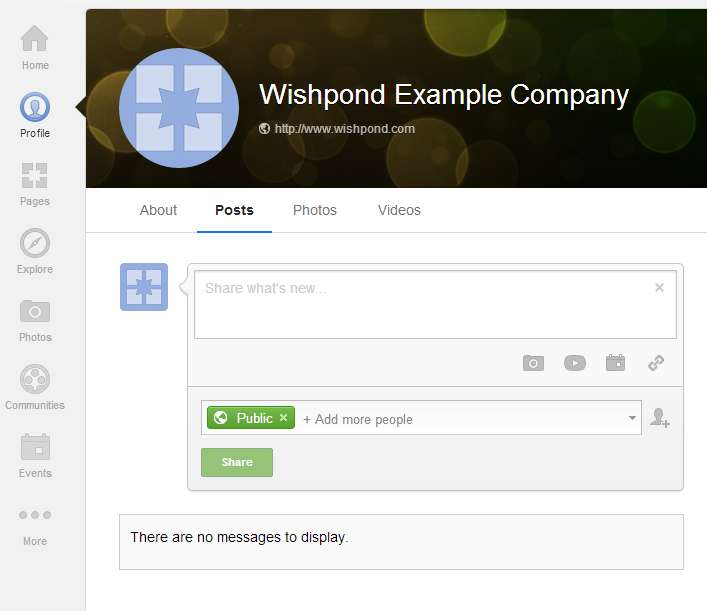
What the default Google Plus Business Page looks like.
- Add your profile photo and your tagline (ten words that describe your business or your page).
- Click the profile icon at the top and go to the About tab. From there, click “Edit Profile”. Fill this in with as much relevant information about your business as you can. Contact information, blog pages, and some keywords related to your industry are excellent choices.
- Choose five photos that best represent your company for the photostrip by clicking on each individual photo area and uploading.
- Be sure to add some activity like status updates and photos to your wall so it does not appear so empty.
- Share your new page to your contacts!
Related Articles
Basic Google Plus Functionality
- Basic Google Plus Terminology
- Why Businesses should consider Google Plus
- Finding the Right Size for your Cover Photo
- Verifying your Google Plus Business Page
